Maintaining your washing machines regularly will extend their lifespan and catch any small issues before they escalate into major ones requiring costly repairs or replacement parts.
Water hoses connect your washer to both hot and cold water sources, and drain away after each load of washing. They require routine inspection and cleaning in order to remain leakproof and undamaged.
Check the Water Hoses
One of the primary sources of water damage is due to a burst washing machine hose, making this an easy problem to prevent by inspecting them regularly. A leak can cost thousands of dollars in damage and complicate insurance claims considerably.
An effective way to check hoses is to start a wash cycle and observe each hose during its rinse, wash, and drain cycles. If there’s any wetness around a hose during these processes, stop the cycle immediately and look for signs of cracks or other damage; even if no major signs appear right away it would still be wise to replace your hoses every five years just in case!
If you are currently using traditional rubber hoses, upgrading to stainless steel braided hoses could reduce rupture risk as they are more resilient against constant use stress.
Before beginning to inspect your hoses, first ensure the circuit breaker for your washing machine is off. Locate and shut off both water supply knobs on the back of your washing machine as well as shut-off valves in your home’s water meter. With all water now turned off, unplug your washing machine and disconnect its hoses; check for kinks in them; untwist them if any are found; once straight, reconnect and push back into place leaving at least four inches between it and walls to allow expansion without kinks appearing again if they expand freely enough without becoming knotted again.
Clean the Dispenser Compartment
The dispenser compartment of a washing machine was created to make your life easier by dispensing detergent, fabric softener and bleach automatically for every load. While this feature provides great convenience, it may also become the source of clogs or residue buildup that compromises laundry quality if left untouched for too long. To protect against this possibility, ensure you regularly inspect and clean out your dispenser compartment – at least once each month!
Before beginning cleaning, unplug your washer and make sure there’s nothing inside. Also make sure the exhaust fan is running and windows are open to provide adequate ventilation. Use a nonmetallic brush or nylon scrubber to carefully scrape away any soap scum, residue, or mold around the opening of the drawers.
Before you begin cleaning, gather these supplies:
Bowl or bucket: Add warm water and a small amount of mild dish soap or white vinegar, then soak the dispenser components for 15-20 minutes in this solution to loosen any grime or buildup of residue.
Scrub and Rinse: Use a brush or sponge to thoroughly scrub all dispenser parts, paying special attention to corners and crevices. After this initial step is completed, rinse each part under running water to make sure all debris has been eliminated.
Allow each component to dry completely before reinserting it back into the dispenser drawer of your washer, as this step is essential to preventing moisture build-up that could foster mold or mildew growth and compromise your laundry.
Clean the Drum
If your washing machine smells musty or mildewy, the culprit might be lurking within its drum. According to Parnell, one simple way of eliminating this smell could be using white vinegar and baking soda for sanitization purposes. Once this step has been approved by your owner’s manual, pour 2 cups of vinegar into the detergent dispenser and run a hot cycle; once completed add half-cup baking soda followed by another hot cycle before wiping down with a microfiber cloth once finished.
Some manufacturers also recommend using a washing machine cleaner. Olivia suggests the Dettol 5 in 1 Washing Machine Cleaner as she states that it can remove mould, remove bad odours and clear away limescale build-up in an efficient manner.
Before using front-loaders, it’s also important to regularly inspect their dispensers and gasket, and wipe down their outer shell using a damp microfiber cloth. A toothbrush may come in handy in tight spots where grime or detergent drippings have collected.
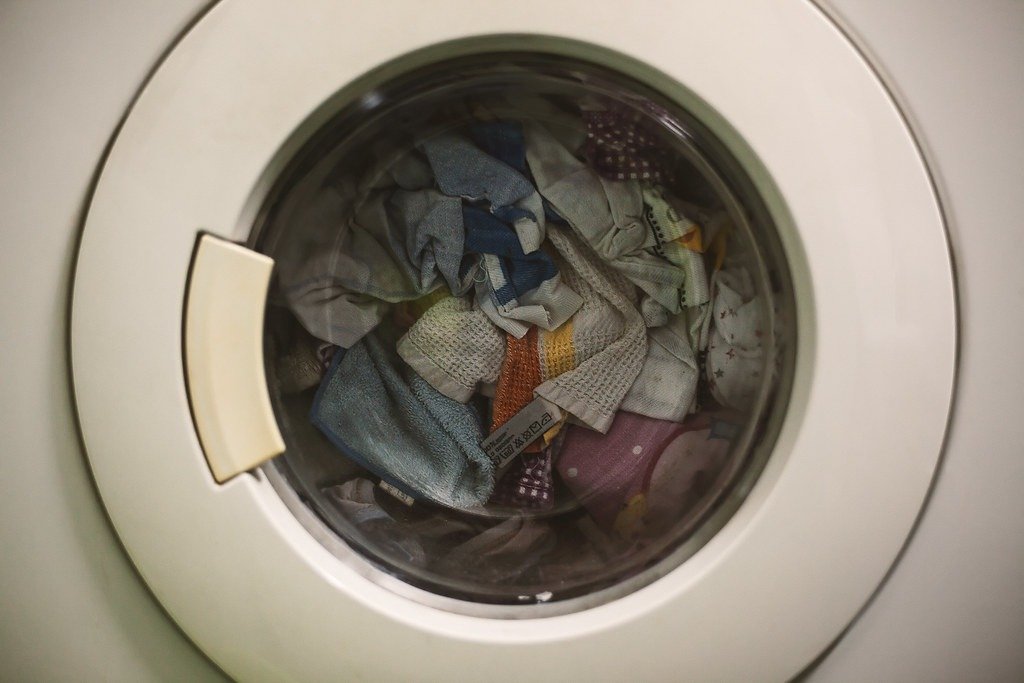
Make it a point to take quick action to remove your clothes as soon as they finish the cycle so they won’t sit in the drum for too long, which could encourage mold and mildew growth. For humid areas, it is recommended that at least once every three months you cleanse your washer to ensure optimal performance.
Clean the Drain Filter
Most homeowners understand the importance of regularly cleaning out their dryer’s lint trap, but keeping their washing machine filters clean should also be on the agenda. These microfilters capture everything from loose buttons to hair strands – and can become clogged quickly if not addressed regularly enough.
Locating and cleaning out your filter should be straightforward. Watch TikTok influencer Barbara Costello (known as Brunch With Babs) demonstrate in this video how you can do just that!
Start by making sure the washer is unplugged and turned off, then place an old towel or shallow bowl beneath its access panel to catch any water that might spill out, before using paper towels to wipe away clumps of lint in its filter and using a small brush to scrub until completely clean.
After removing and submerging the filter in hot water for 10 minutes, rinse and dry it before reinserting into its housing and secure its spout cap. Run an empty wash cycle to flush out your newly cleaned filter; repeat this process on an ongoing basis to keep your washer operating at peak performance for as long as possible.